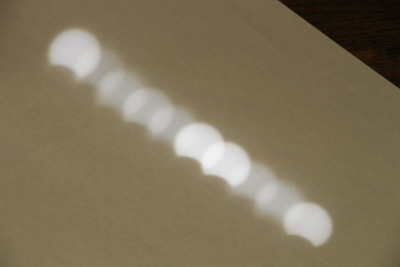
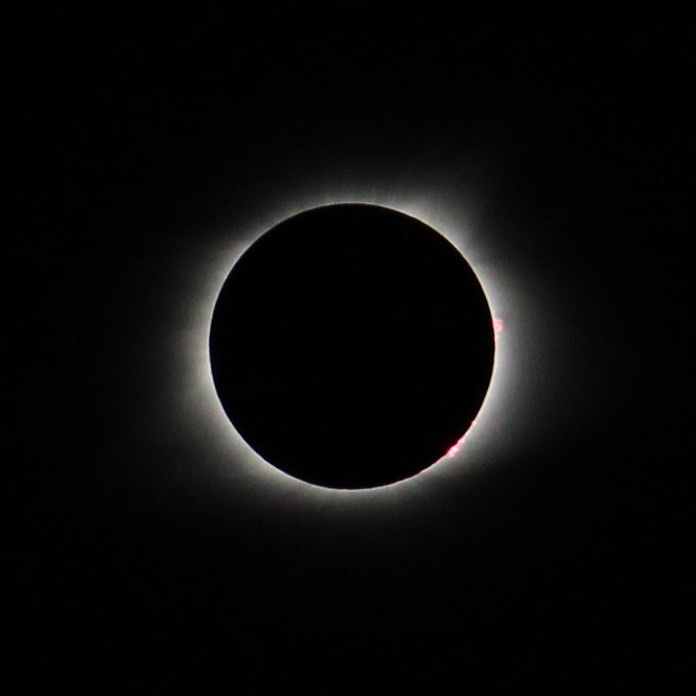
[Your Cable Release Editor originally intended to write one article about the eclipse, incorporating inputs from both himself and Tanya. The two were so different in approach that it then seemed better to make two articles. Tanya sent me material both before and after the trip, and the following stiches these together]
“We’re so excited!”
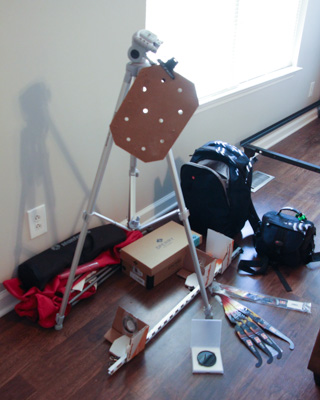
Tanya provides a shot of her gear, staged at home for the journey:
It comprises:
- 2 cameras
- 2 tripods (crippled one holding artsy hole sheet)
- 1 shoe box pin hole camera
- 1 home made projector (made from 2+ diopter lens, 1 surplus -25mm?? lens, fruit box, shelving upright as rail)
- 1 super dark solar filter
- 9 solar eclipse glasses
Tanya provides us with some results from the field, with a review of the technique tried. She tried:
- photographed the partial eclipse with her camera, lens, and solar filter
- viewed the partial eclipse using a homemade projector
- photographed the total solar eclipse with her handheld camera and lens
- pin hole camera
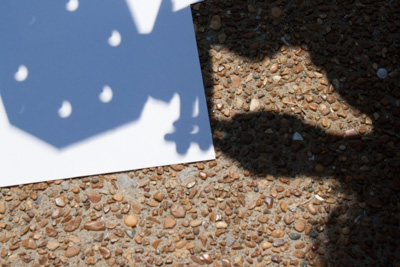
- projected pin holes, holes, crossed-fingers, Venetian blinds, and holes between tree needles/twigs directly onto paper or ground
Photographing the partial eclipse with camera, lens, and solar filter
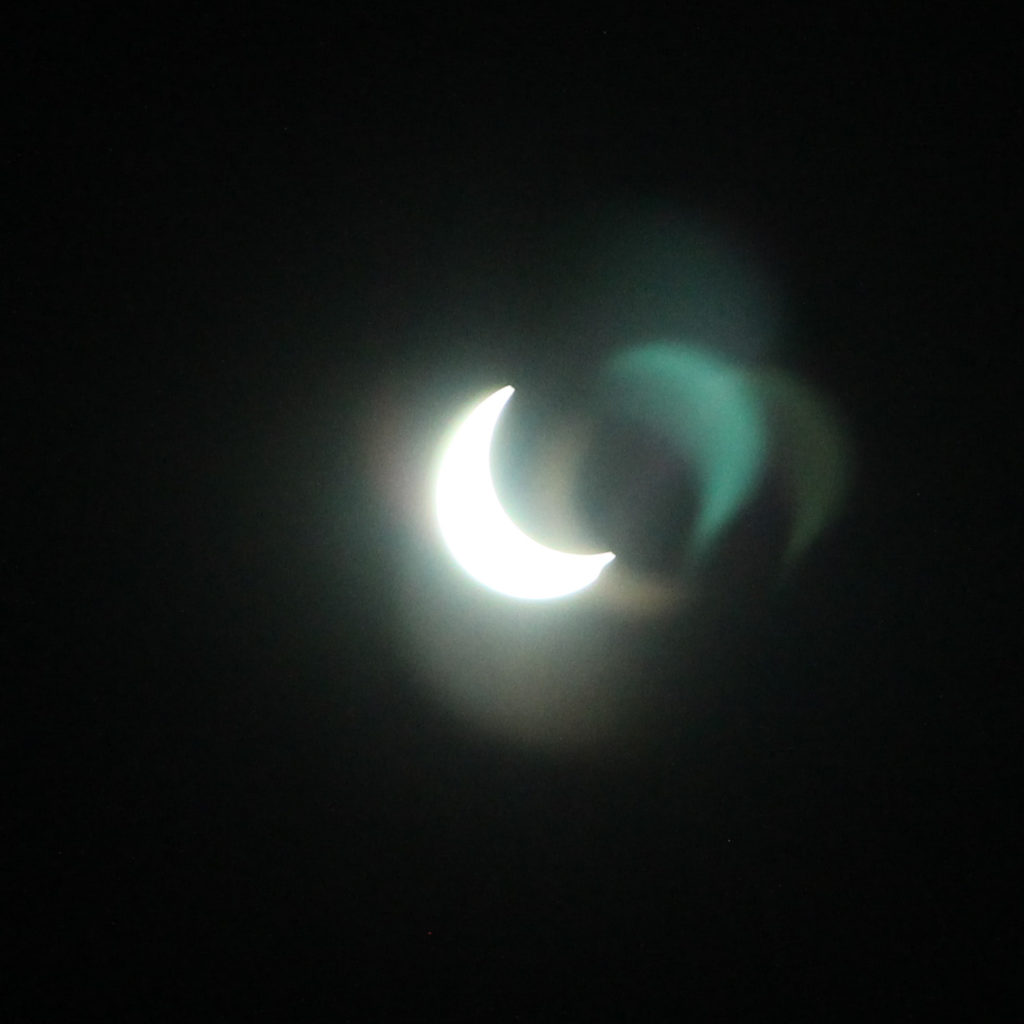
First she shows how photographing the partial solar eclipse went using her Firecrest solar filter. This is the screw-on filter seen in its case on the floor in the above photo. Here is the result:
Pro: Nice neutral color. Was in stock at B&H when others were out.
Con: Oh boy. I neglected to try this out on a non-eclipse day and didn’t debug a number of problems, maybe not due to the filter per se.
- Cyan colored lens flare. Duh.
- Hazy lens flare.
- Double image— kind of like what you see if you have cataracts.
Curious: Why is the cyan lens flare image rotated 180 degrees from the main image? Why does the main image of the eclipse look like a banana? [see bottom tip of the crescent]
Upshot: The solar eclipse filter was disappointing.
Partial eclipse viewing: A home made projector
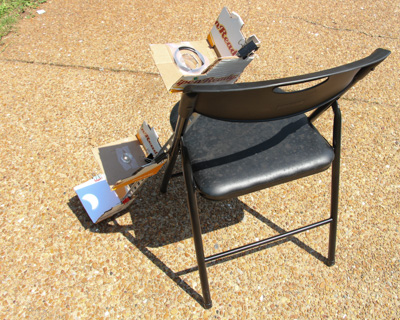
I followed the suggestions in the website http://richardsont.people.cofc.edu/safe_solar_folder/ with a +2 diopter close-up filter as my first lens and a mystery -25mm (??) lens as my second one, using a shelving upright as an optics rail.
Pro: You get a nice big 2-3″ image for everyone to look at. It is fun to rearrange as the sun moves in the sky. You can photograph the projection with any kind of camera.
Con: It is kind of fuzzy. If blown up to larger sizes, you get one edge blue and the other red due to chromatic aberration.
Upshot: A great interactive group activity.
Pin hole camera made from shoe box
(shown in top photo.)
Pro: Probably couldn’t hurt you if you ate it. Can get images of surrounding wispy clouds.
Con: Image is very tiny. Awkward to photograph. Thrown in a corner and ignored, so no photo.
“Pin hole” partial eclipse viewing using found holes from boards, fingers, Venetian blinds, trees, etc.
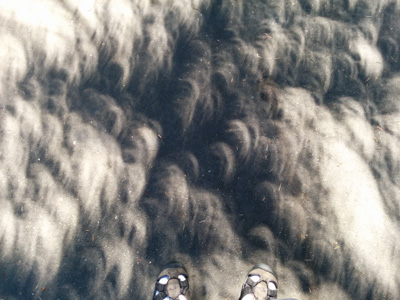
Eclipse projections from ~25 ft high live and ~80 ft high dead (and needle free) Balsam pine trees in British Columbia, Canada. Man’s sandals at bottom for scale. [Anonymous]
Pro: Size of image can be much better than with shoe box camera because distance is further. Compare images from different hole sizes. Multiple holes make fun effects.
Con: You might forget to look and find them!
Eclipse viewing: Hand held DSRL
I found exposure guidance on http://www.mreclipse.com/SEphoto/image/SE-Exposure1w.GIF.
By following the table provided in that link, I selected 800 ISO, f/8.0, and a range of shutter speeds from 1/2000 to 1/13 second. I just clicked and changed the shutter speed by a stop or so; repeat.
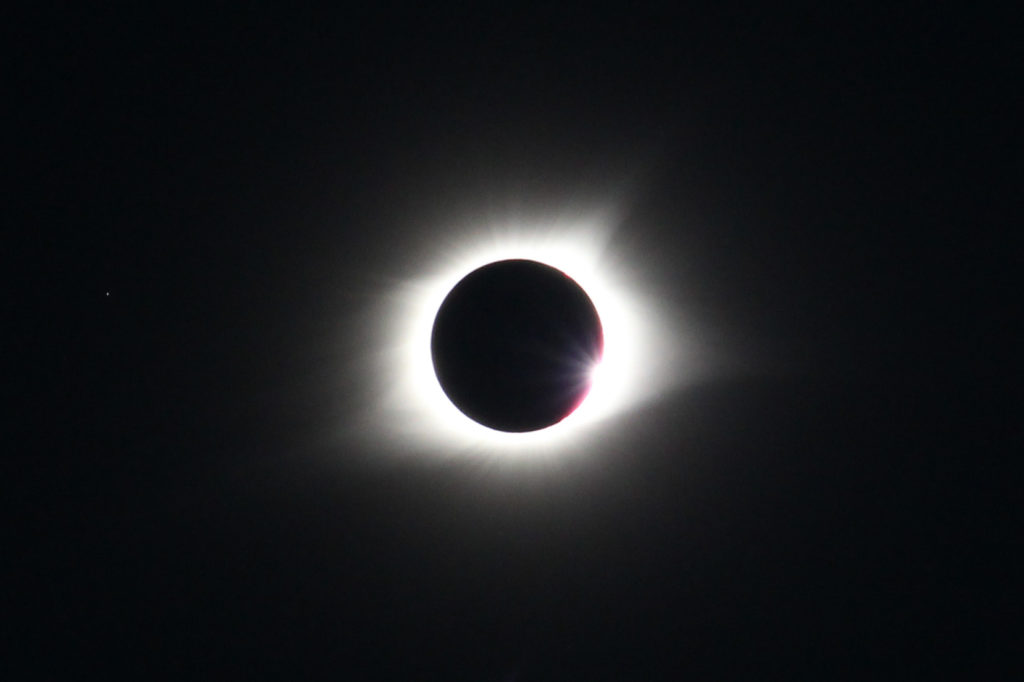
My diamond ring photo ( 1/50 sec F8.0 ISO 800). It would have looked more like a ring with a darker exposure of 1/800s.
Pro: Wow. I got details like on the “real” photos like red prominences and the chromosphere (upper photo) and the diamond ring (lower photo).
Con: I felt kind of guilty not using my tripod but speedy pointing was of the essence.
I wish I had a higher zoom lens. Cropping only goes so far.

